http://vectips.com/tutorials/the-fundamentals-of-shape-design-in-adobe-illustrator-lesson-2/
The Fundamentals of Shape Design in Adobe Illustrator (Lesson 2)
This tutorial is the second in a series of two lessons on how to use basic shapes to create objects. From hearts to perfect spirals, the fundamentals of shape design outlined in this tutorial are used in everyday design but don’t have obvious methods of creation. If you like productivity, tips, and tricks, this tutorial is a must-read! Did you catch the beginning of the series? Take a look at Lesson 1 first.
Tutorial Details
- Program: Adobe Illustrator CS6
- Difficulty: Intermediate
- Topics Covered: Ellipse Tool, Distort & Transform, Brushes, Strokes
- Estimated Completion Time: 1-1.5 hours
Here are the variety of shapes we’ll create.

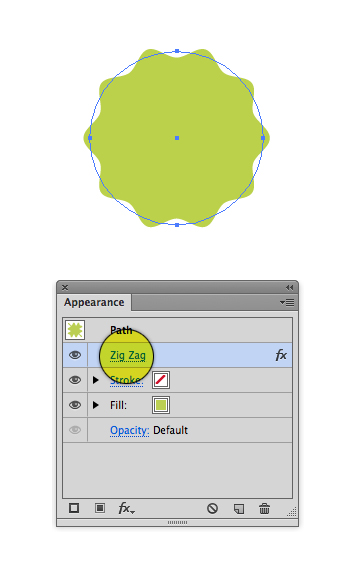
I’m New Here—Medallion

Step 1
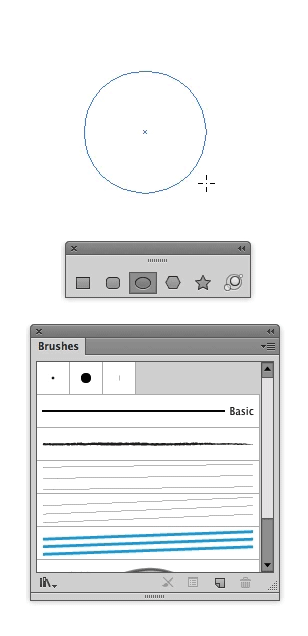
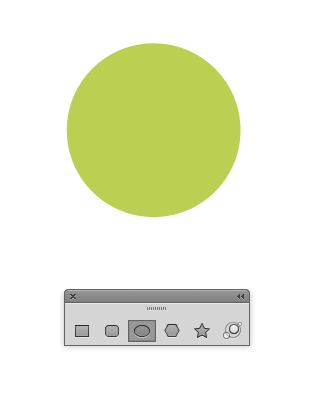
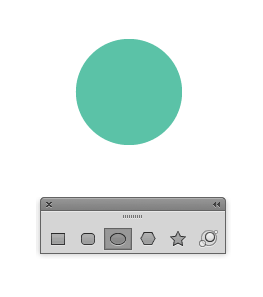
Very simply, start by using the Ellipse Tool (L.) Hold down Shift while you draw to make a perfect circle.
Step 2
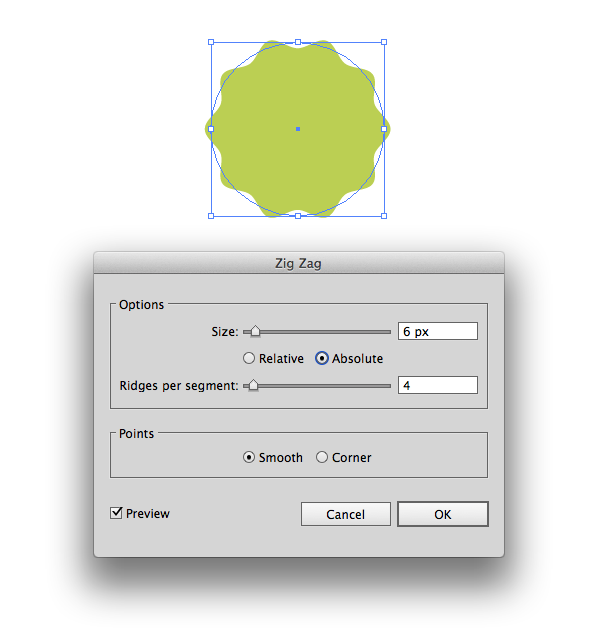
Adding the ridges couldn’t be easier. Go to Effect > Distort & Transform > Zig Zag. Change the Size of the ridges and Ridges Per Segment to suit your needs. Click OK.
Step 3
Done. If you later decide that you want to alter the number of ridges, just open the Appearance Palette and click the effect. Easy right? Lets move on!
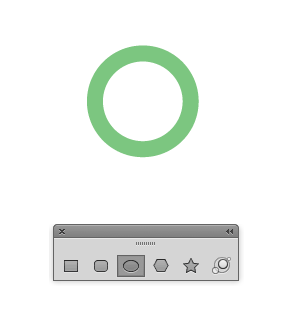
Look What I Made—Starburst

Step 1
Using the Ellipse tool (L) draw a circle.
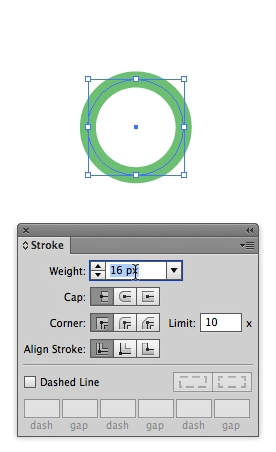
Step 2
Go to the Stroke Palette, click inside the Weight field then press and hold the up arrow to increase the size of your stroke. Increase the stroke until you can no longer see a gap in the middle.
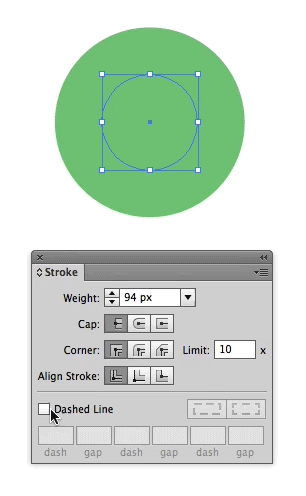
Step 3
If it’s not already visible, double click the word “Stroke” to reveal the other options inside this palette. Check Dashed Line and begin entering different values into the fields in order to create the look you need. If you want your design to be very simple, only enter a value into the first field.
That’s all there is to it!
Skills to Pay the Bills—Heart
Drawing a free-form heart can be challenging. It’s crazy that Adobe doesn’t hasn’t built a tool for this. Ingenuity to the rescue! The technique I’ve outlined below makes simple work of this common task. Take a look.

Step 1
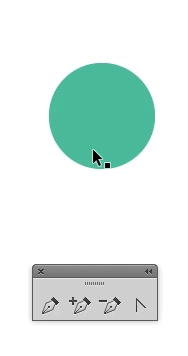
Start by drawing a perfect circle. (Have you noticed a theme yet? A variety of complex shapes can be built using simple shapes.)
Step 2
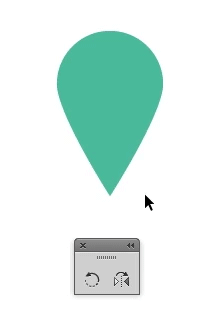
Change the bottom point on the circle to an angle. To do this, grab the Convert Anchor Point Tool (Shift+C), then click once on the point. Using the Direct Selection Tool (A) drag the point downwards.
Step 3
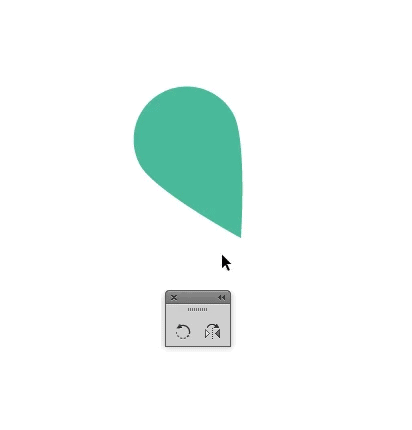
Using the Rotate Tool (R) rotate the shape slightly to the left. With a little bit of foresight, you can imagine what the heart will look like when the other half of it has been drawn. Some hearts can be tall, while others are wide. With this in mind, try to rotate the shape into a position that will create the overall heart shape you’re looking for. Generally, the right edge of the shape will be almost vertical.
Step 4
Using the Reflect Tool (O) make a copy of the shape. Now, move it to the right but leave a slight overlap where the bottom two points are. I’ve intentionally overlapped them as trying to line up two points exactly on top of one another produces less than desirable results. We’ll take care of the overlap in the next step.
Step 5
Select both shapes. Now, using the Shape Builder Tool (Shift+M) delete the bottom two triangles.

Practice Makes Perfect—Gear

Step 1
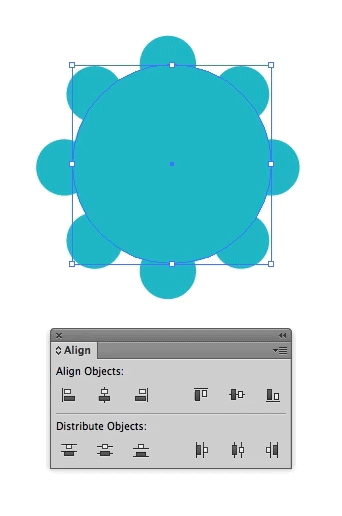
Start by drawing two perfect circles. Make sure they’re vertically aligned. Group the two circles before you continue.
Step 2
Select your newly grouped circles then Copy (Control+C) and Paste in Place (Control+F) the circles on top of each other. Now, you can select the newly pasted grouped circles then rotate them into position. Hold down the Shift key to snap to common angles. Group all of the circles together before proceeding.

Step 3
Draw another perfect circle to create the center of the gear. Give the smaller circles a white fill and bring them to the front of the design (Object > Arrange > Bring to Front.) Next, select everything then vertically and horizontally align the shapes. Continue to fine tune exactly how much of the white circles overlap the center area by scaling them up or down.
Step 4
To create the center-most area, copy the large center circle then Paste In Place. Scale it down, bring it to the front of the design, and change its fill to white. That’s all there is to it!

Dang I’m Good—Spiral
The spiral shown on the left is what we’ll create. Notice, the right spiral has a distinctly different look. That one was created with Adobe Illustrator’s built-in spiral tool. While that may be what you need in some cases, if you want to create a truly perfect spiral follow the technique below!

Step 1
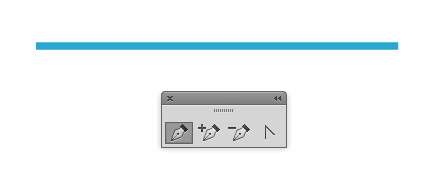
To begin, use the Pen Tool (P) and draw a line.
Step 2
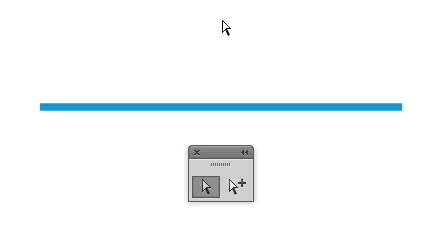
Turn on your grid (Command+apostrophe.) Align your stroke so that first point starts at one of the thick grid lines, and the second is aligned to the next thick grid line.
Step 3
Duplicate the shape, making sure that all the lines are spaced equal distances from one another. The top of one line should be where the bottom of the next line starts.

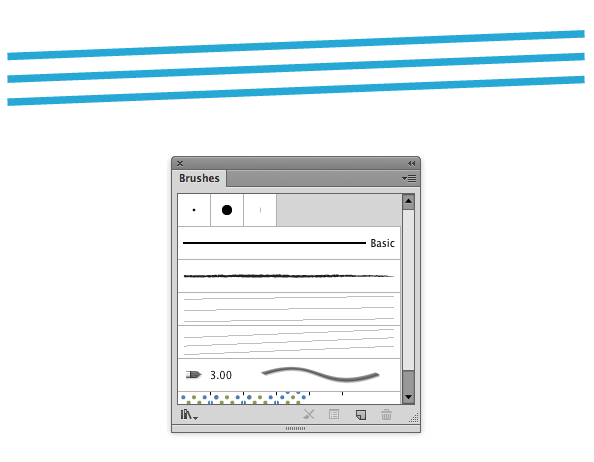
Step 4
Drag all 3 lines, at the same time, into the Brushes Palette (Window > Brushes.)
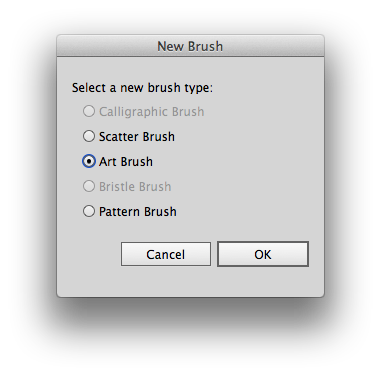
Step 5
Select Art Brush and click OK.
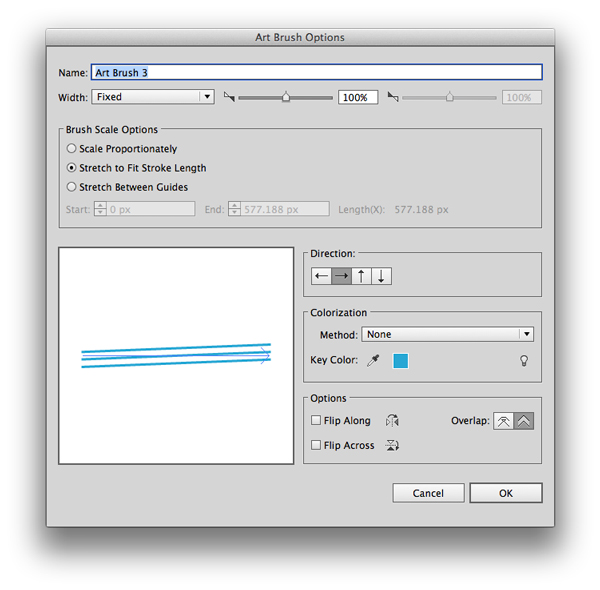
Step 6
You won’t need to change any options here, just click OK.
Step 7
To test out your spiral, draw a perfect circle then click on the brush you just created. You now have a perfect spiral!