Texture and Gradient

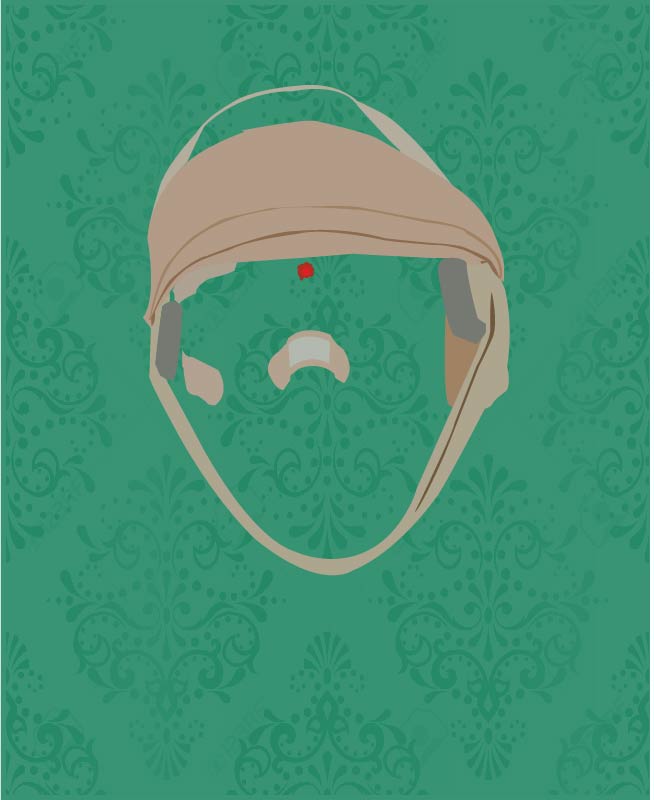
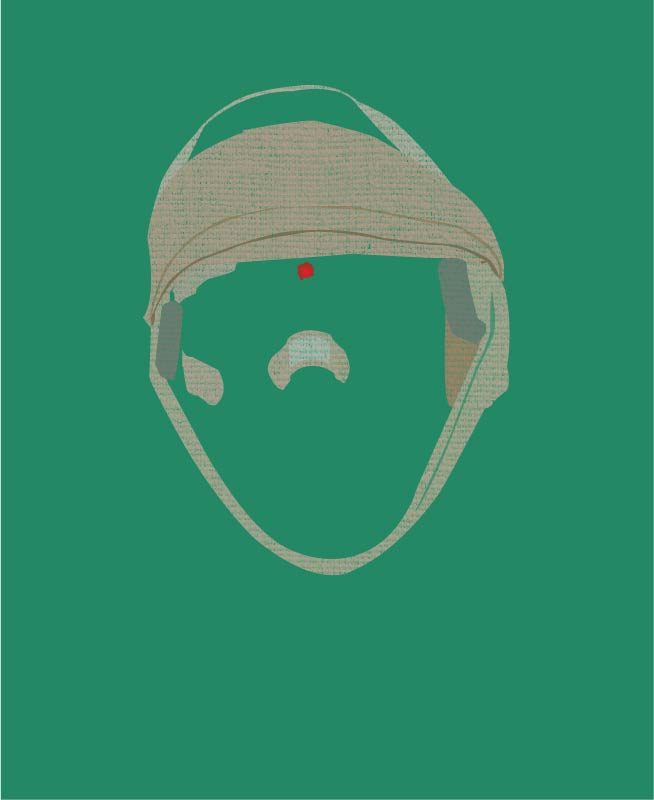
You will need a gradient and/or shadow on each of your 3 Minimal posters. Try to keep both textures and gradients subtle.

Complete the Gradient Practice document found in the folder: Shared > Students > Fine Art > Lessons 6-10 > 08Gradients. You can also watch the Gradient Tutorial below.

Make sure to watch the Texture tutorial on Opacity Masks. I have saved textures you can use in the folder: Shared > Students > Fine Art > Lessons 6-10 > Textures. Select a texture you like and Ctrl + C to copy and Ctrl + V to paste on your Minimal Poster.

Texture Tutorial

Gradient Tutorial

You need at least 10 “pieces” of Mr. Potato Head including his body. These pieces need to have highlights and/or shadow. My example has 11 pieces: nose, 2 eyes, mouth, mustache, arm, shoe, 2 eyebrows, and ear.

mr.2

When you are finished, make sure all of your layers are visible except for your photograph layer. Go to File>Export. Save your Image as a JPEG. Click Save and then OK. jpeg

Login to your blog and upload this image on a new post. See see below for posting directions:


  1. Go to wordpress.com and sign in to your blog. Your password is your uppercase first initial, lowercase last name, and ID# (example: Bgaster245942)

  2. Click the ‘Create New Post’ bottom on the top right of your screen. Capture

  3. You can make a Title for your post (ex. Mr. Potato Head)

  4. To add your picture click ‘Add Media’ below the Title and upload the file you saved as a JPEG.  Capture1

  5. When you are finished, click the blue Publish button on the bottom right of your screen.


  6. If you get finished, I want you brainstorming your favorite movies, tv shows, and books. Make a list and start writing down and sketching ideas for subject matter. Spend some time looking through examples:  https://rooseveltgraphicarts.wordpress.com/projects/minimal-movie-poster/minimal-movie-poster-examples/ or search online for Minimal movie posters.

Welcome Back!

Today we will continue to work on our Mr. Potato Head project. If you are working on his shoe, you should have three layers: Shoe base, shoe highlight, and shoe shadow (This is the same for the hat, ears, arms, nose, etc.) Trace the shapes you see and use the Eyedropper Tool to fill the shapes. If you were gone on Thursday, see post below and ask your neighbor for help. mr.4.JPG

mr.3mr.2


Happy Thursday-Friday!

Find the JPEG file Titled “Mr. Potato Head” in the folder:
Shared >Students >Fine Art >Pen Practice.
Drag this image to your home folder.

 
Open a new Illustrator document and File> Place this image on your Artboard.
Name this layer reference image and lock it.
Create a new layer name “Body” and trace the outline of the potato.
Using the eyedropper tool, fill this shape you made.
Lock and hide this layer.
Create a new layer named “Eye and Mustache layer”.
Trace around the white eye shapes and black mustache shape.
Lock and hide this layer.
Create a new layer named “Pupil and mustache highlights”.
Continue working this way.


Welcome Back!

Today we will continue to work on Pen Tool exercises 5.2 and 5.3. If you are finished, you can start a cartoon character of your choice.

  1. Find and save an image of your chosen cartoon character to your home drive.
  2. Open a new Illustrator document (File > New).
  3. File > Place the image on the art board.
  4. Lock this image and Create New layer. Name this layer “Base color”.
  5. Using your pen tool, trace an outline of your character. Mine was the black outline.
  6. Use the eyedropper tool to fill this shape.eye.JPG
  7. Lock and hide this layer.lock.JPG
  8. Create a new layer new layer.JPGand continue tracing different shapes of color. st-birthday-party-the-lion-king-lion-king-lion-king-characters-1446822800kg84nsimba outline.JPGlion2.JPGlion3lion4

Pen Tool Practice Continued

Today we will continue the Pen Tool exercises. You can find these in the folder: Shared > Students > Fine Art > Pen Tool Practice. We will work on exercises 5.1, 5.2, 5.3. Remember: Complete each exercise 2-3 times (on separate layers) until you have mastered it. Tips: Press “P” to deselect, Edit > Undo if you made a mistake, and Ctrl + to zoom in and Ctrl – to zoom out. Please ask your neighbors if you are having any issues. 

If you were absent yesterday or need a refresher, here is a link to several pen tool tutorials:  http://www.adobepress.com/articles/article.asp?p=1652772&seqNum=3.
Ask the librarians if you need headphones. You can also watch Tutorial 1 and Tutorial 2 videos found in the Shared > Students > Fine Art > Pen Tool Practice folders.

Complete these steps when starting the exercises: 

  1. Set Fill to None.

fill none

2. Select a Stroke color

stroke color

3. Set your Stroke Weight to 3 pt.

3 pt stroke

4. Click the Layer icon on the bottom right panel  layers

5. Click Add New Layer icon create new layer

6. Name the new Layer “Practice 1 or 2”

practice 1

7. Click the Eye icon to hide “Work on this Layer” and make sure the top layer is highlighted before you start working.

hide

Please Remember: these are graded so save to your Home Folder > Graphic Design.