You will need to incorporate a creative element into your images. This creative element could include:

Stroke color
Unfilled/unfinished pieces
Invented colors
Gradient Fill
Pieces Breaking off
Texture
Drop Shadow

4321380bdd640314f9454b977686f260
geometric-animal-1
2347ec58c40dfa1d9b79b44467230596
a13cbf399039f0678a4b083248af58e2
fb6c5e1cb860d373d5cdf602cc9da0f7
geometric-animal
a0981be4fcf46e0ef0ac2171ecb86e6d
3d2bc9af98f11e52ad89e158ff155348

Semester Test Project Concept Day!

  1. Make sure you have uploaded your finished minimal portrait to your Google Site
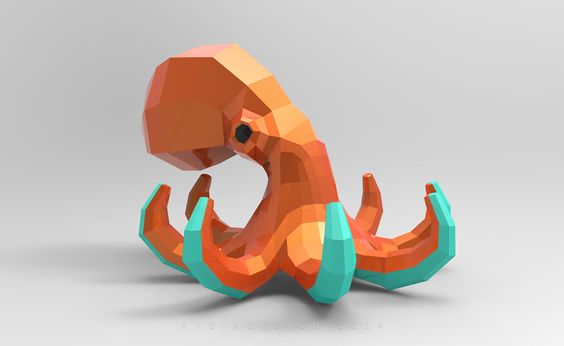
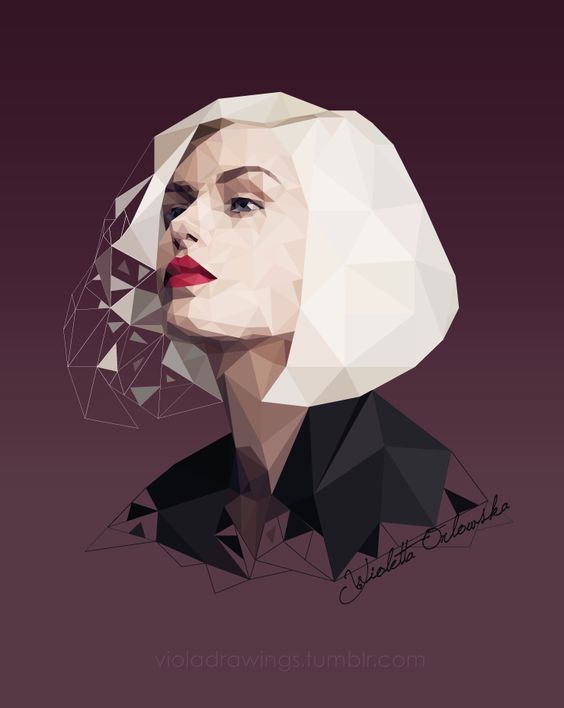
  2. Start brainstorming for a subject for your Semester Test Project (3.5 weeks long). You can choose between: 1. Geometric Image 2. Infographic 3. Propose your own idea

Examples of infographics:

Examples of Geometric Images:

Examples of Proposed Projects:

Uploading Logo to Google Site

Logo Designs

Upload your logo designs to your google site (Export>JPEG). Choose if you want them all on one art board or several. Then answer the following questions:

1. How do your logos represent your style/skills/personality/interests?  Explain your color choices:

2. How did you make your logo a minimal/simplistic design?

3.  Did you apply a gradient or texture? If so, where?

2. What do you feel is your most successful logo and why?

3. Find a logo that you think is a great design and upload to this post. Why do you think this design is so successful?

When you are finished with your logos and uploading them to your google site, spend some time look through examples of minimal vector portraits: https://rooseveltgraphicarts.wordpress.com/projects/vector-self-portrait/vector-self-portrait-examples/

Then, start brainstorming who you want to create a minimal portrait of. Phone photos? Self-portrait? Friend or family member? Beloved pet?

Typography Posters (3)

Posting your 3 Typography Posters to your Google Site:

Make sure each one of your posters has a grunge/vector texture or a subtle gradient and that your text reflects the image it’s inside.

File > Export >JPEG

Questions:

  1. Explain your choice of imagery to accompany your chosen quotes in each poster. 
  2.  How did you arrange your text to fit the image in each poster?
  3. Explain why you choose that particular font in each poster.
  4.  What was the most challenging part of this project?
  5. What poster are you most proud of? Explain why.
  6. Find an example of a typography poster and that you are particularly fond of and upload it to this post. Explain why. 

Project Outline:

03 Typography Posters


Fonts:

Vector fonts: Shared > RHS > Students > Fine Art > Typography!

DAFONT.COM >INSTALL


Texture:

Each poster will need a texture. You can find grunge textures in:

1. Shared > RHS > Students > Fine Art > Textures

2. or find and download your own at: https://www.vecteezy.com/free-vector/grunge-texture?license-free=true


When you finish uploading your typography posters to your your graphics google site, spend some time researching logo designs for inspiration and start brainstorming and sketching for your own logo designs. Examples of logos: https://rooseveltgraphicarts.wordpress.com/projects/logo-project/examples-of-logos/


You will need to create 4 logos.

1 Monogram / Lettermark

1 Combination mark (image + name)

2 symbols (optional to include name or initials)


Examples of Lettermark/Monogram:

5daf3ae8f0966fa7e400ef9b72e3c2e1.jpg
dd7113303bfa709fbf90afa8452e36b2.jpg
dc162bb536e8f1850b12d559600077fd.jpg
d29163d0c25ae01d7c868f3b68f38d52.jpg
bfdec15c09291bf8b41f34c0c6015e4d.jpg
9a045a4d560517040d8151661316f764.jpg
1fad8bc50a1b628385ef2d31c2f7d516.jpg
3c160f87a172a74b14ee0155fa3698a0.jpg
3392b41857d26aee24eb79521ffa9c68.jpg
07dbf03e847d95cf3a311978b9fc9cfb.jpg
ac5045cedeb0f753f59c10108607ffc6.jpg
3db9e94a067c7bd7e16590e5e825b8e9.jpg
au.png

Combination marks:logo-highres.png

43587bbcb46715ee71db13a17d974340.jpg
bdf575c04127a3c6724014ae908ebcf8.jpg
44b8ebbdb2052aad51ab4bc95d401c65.jpg

Just symbols:

download.png

1. Continue to work on your 3 minimal posters. Remember: each poster needs a subtle gradient and/or a texture.

2. When you finish your 3 Minimal Posters, follow the directions in the link to upload you posters to your graphics google site and answer the questions about your artwork: https://rooseveltgraphicarts.wordpress.com/your-blog/minimal-movie-post/

3. If are finished with step 2, create another minimal poster, start/continue to work on an independent project, or spend some time editing your settings/preferences on your google site to make your online portfolio your own.


Reminder: you will need to apply either a gradient or a texture in each of your 3 minimal posters


Examples of textures on Minimal posters:e21acc562dd9357ff27f1d076289935ebbdadd0da93fce01e91e82a5667e15d5957b89c38d8c83f8f1a963d1c37cd0ec39c815e3b44d6e14437dc925c16bfcf6


Example of a poster with a gradient:

5e7ed1fa7b234e9885610934307a1817

Examples of different methods of texture

Vector Texture:1.JPG

Clipping Mask:3.JPG

Background Texture:2.JPG

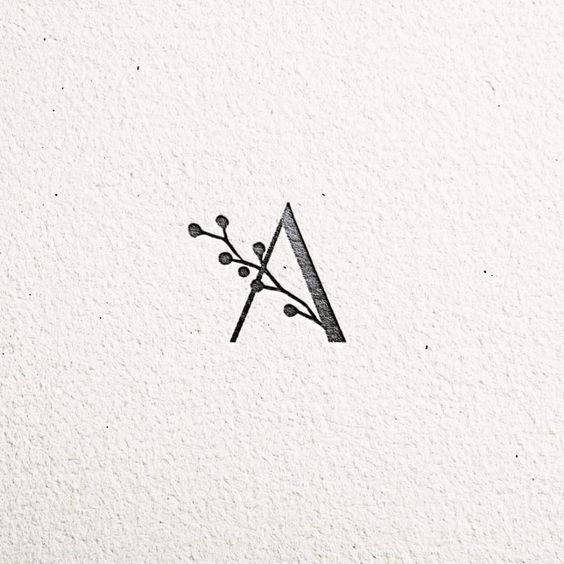
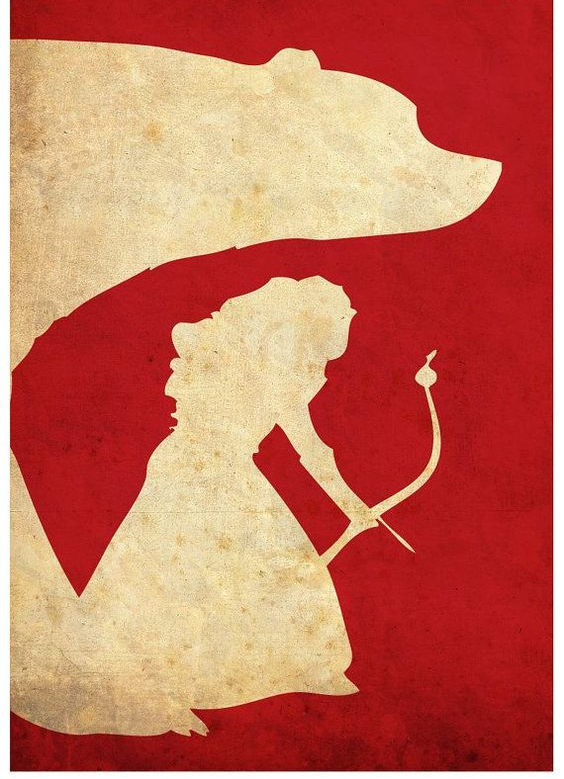
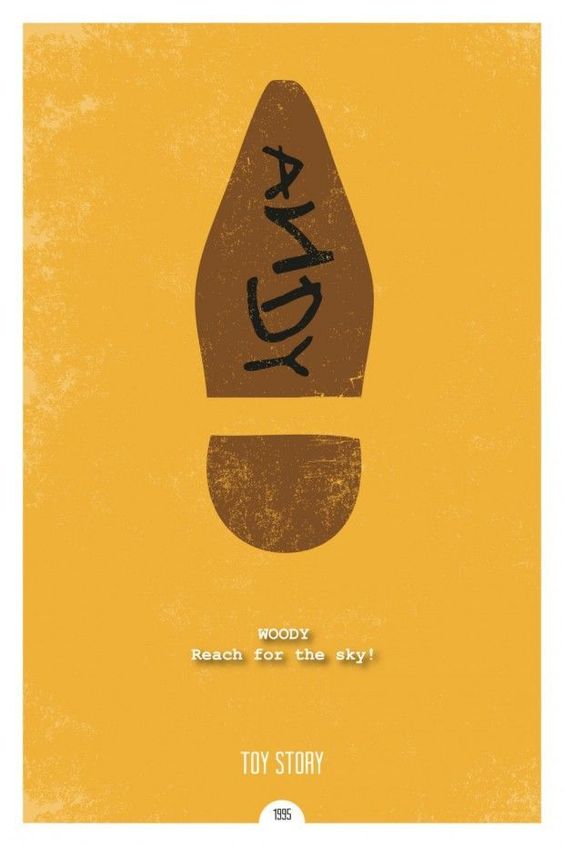
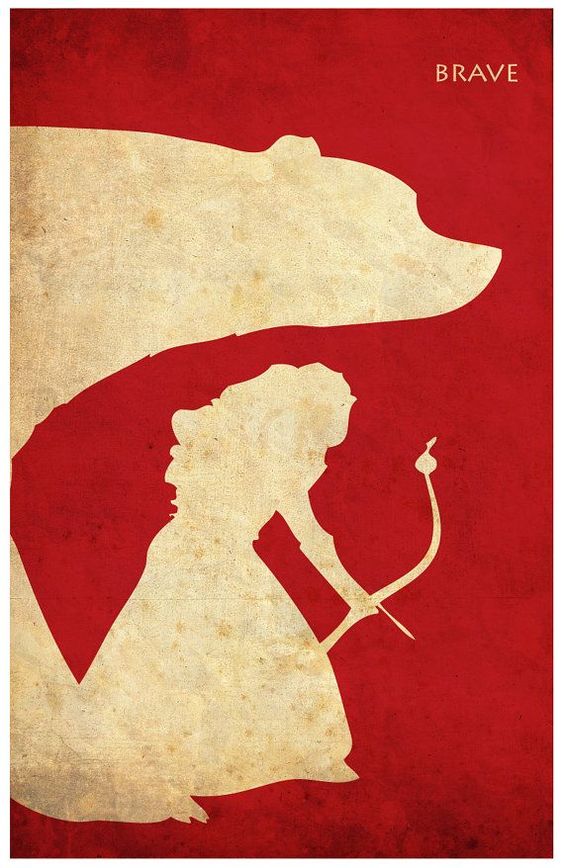
When you are finished with Mr. Potato Head and uploading it to your google website, you may spend the class period brainstorming, researching, and sketching for our next project: Minimal movie poster.


1. List your favorite movies, tv shows, and books:

2. List characters from your favorite movies:

3.  List objects from your favorite movies:


Outline for Minimal Poster project:
https://rooseveltgraphicarts.wordpress.com/projects/minimal-movie-poster/

How will you make your images minimal? Remember, use a photograph as a reference image – do not simply copy an existing minimal poster.

Examples of reference images:

France ,chouette harfang ( Bubo scandiacus ), zoo //France ,Snowy Owl ( Bubo scandiacus ) ,zoo

Examples of minimal posters:e21acc562dd9357ff27f1d076289935e.jpg9ac0db2d1be27cf827444e310a926a95.jpgil_570xN.1995786621_4d2bbbdadd0da93fce01e91e82a5667e15d5.jpg39c815e3b44d6e14437dc925c16bfcf6.jpg5e7ed1fa7b234e9885610934307a1817.jpg

dd3c84c56307ef6451af31b125d0b4dc

Happy Tuesday!

When you are finished with your Mr. Potato Head project, Follow the instructions below to upload your image to your blog:

1. Hide your reference image.

2. Unlock all layers.

3. Make a selection of every piece.

4. Hold down shift while increasing the size.

5. Resize your art board to fit your image.

6. File > Export > JPEG

7. Color Model: RGB and Quality: 10 Maximum


If you are finished with your ten pieces, you either: finish other pieces, finish your line artwork from last week, or create a new document and find an image of your choice to make vector.

Directions for Potato head below:

Find the JPEG file Titled “Mr. Potato Head” in the folder:
Shared >Students >Fine Art >Pen Practice.
Drag this image to your home folder.

Mr. Potato Head 1.png
Mrs. Potato Head 2.png
  1. Open a new Illustrator document.
  2. File> Place the Mr. Potato image on your Artboard.
  3. Name this layer reference image and lock it.
  4. Create a new layer name “Body” and trace the outline of the potato.
  5. Using the Eyedropper tool, fill this shape you made by clicking the potato color.
  6. Lock and hide this layer.
  7. Create a new layer named “Eye and Mustache layer”.
  8. Trace around the white eye shapes and black mustache shape.
  9. Use the Eyedropper tool to fill these shapes.
  10. Lock and hide this layer.
  11. Create a new layer named “Pupil and mustache highlights”.
  12. Continue working this way.

mr-potato

mr-potato-head
mr-potato-head-1
kolda

This example has too many anchor points used and not clean shapes:

potato-head-shape