Learning Goal: By the end of class today, you will use vector textures, clipping masks, and lower opacities to create textures in Adobe Illustrator.
Reminder: you will need to apply either a gradient or a texture in each of your 3 minimal posters
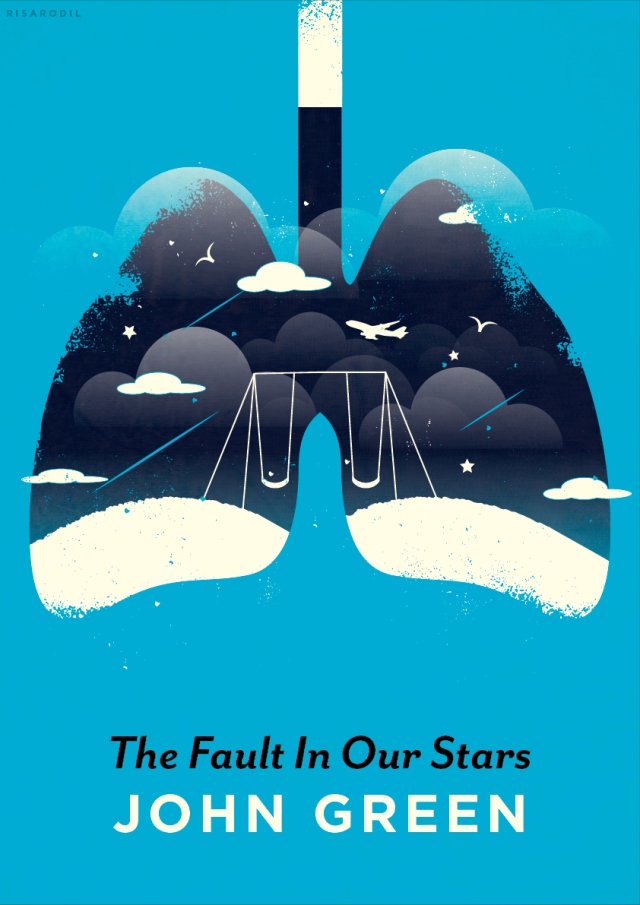
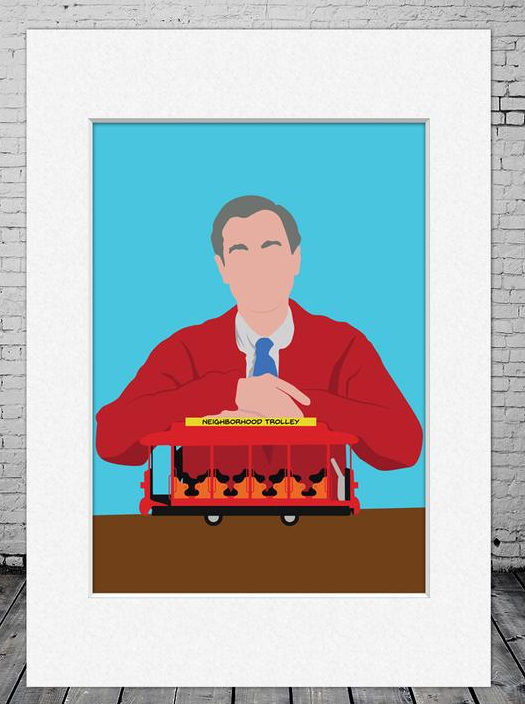
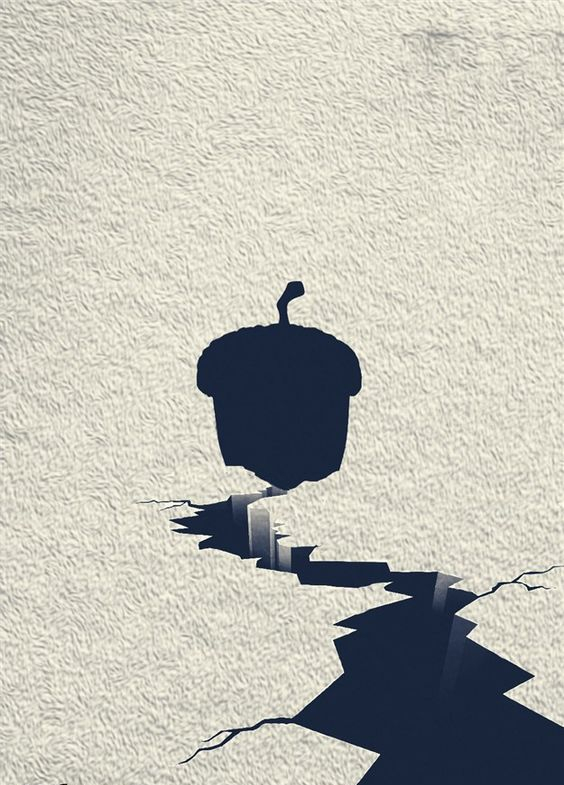
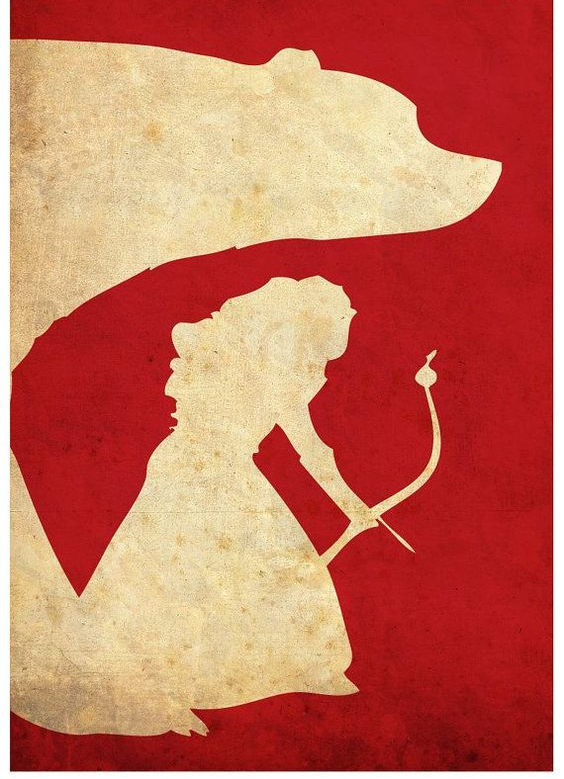
Examples of textures on Minimal posters:

Example of a poster with a gradient:

Examples of different methods of texture
Vector Texture: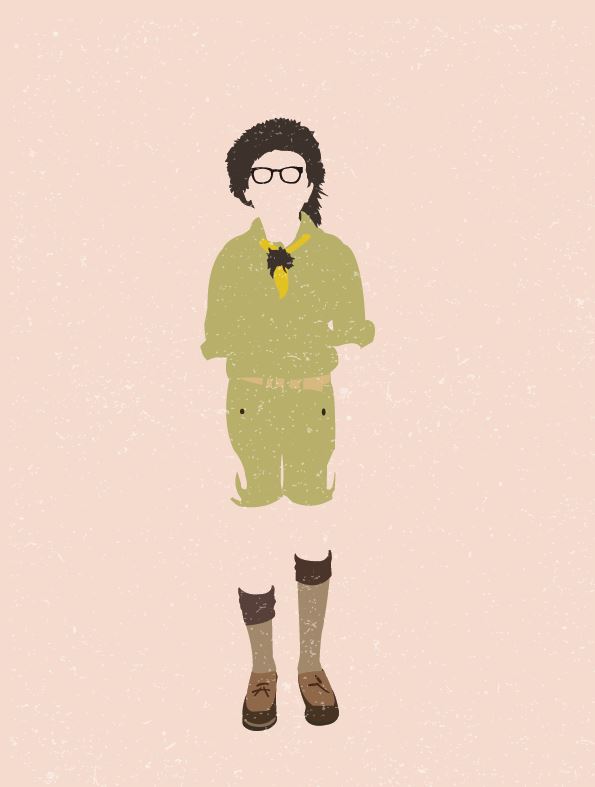
Clipping Mask:
Background Texture:
Our guided practice document can be found in:
>SHARED
>STUDENTS
> FINE ART
> TEXTURES
>TEXTURE PRACTICE